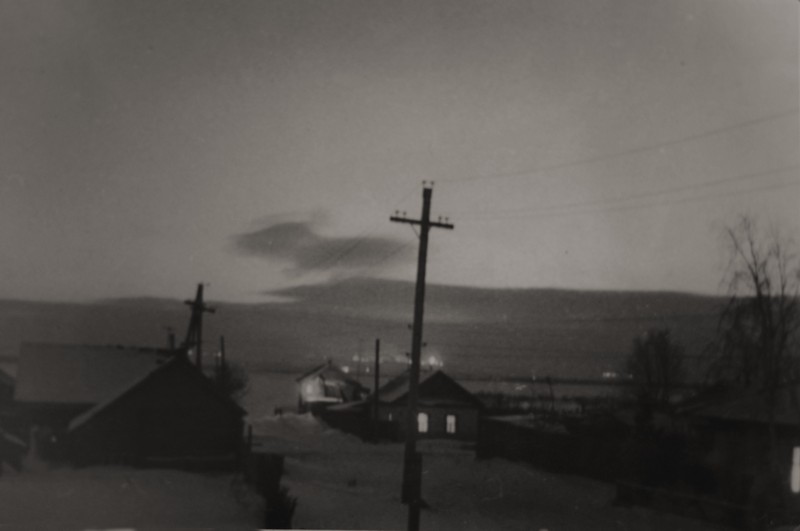
(View from my darkroom AKA attic room. Yelabuga, 1973)
I had been returning to darkroom many times over the years to print few family photos. In yearly 2000s, I resorted to digital processing of my films. Because of this, my darkroom techniques has not improved much...that is, until recently, when I started using a real big darkroom with all kinds of stuff regularly. Gradually, I restored my non-existing printing skills and went further. I started using split-printing on variable contrast paper, I cut masks and dodge/burn with different contrast filters, I use mainly RC paper but also fiber when I feel like it. I use different developers/dilutions for contrast control and for color variations. No toning though (not yet). Little by little, I started feeling confident enough to try printing "the bad and the ugly" : overexposed, underexposed, too contrasty, you name it...negatives. I use manual cameras most of the time; in real world of candid shooting often there is no time for fiddling with camera and as result I have this kind of photo junk all over my rolls. Even some of my most loved shots have wrong exposure, wrong development or both.
So, I decided to give it a try and spent some time printing from these crappy frames. In this post I'd like to share the results and compare printing in darkroom with scanning/processing/digital printing I had been mostly doing for the last ~ 10 years.
[Disclaimer:It is not a formal test. It is just my impressions. Its not digital in general or film in general. It is just my B&W films/paper and my scanning/digital processing.]
Ok, let start from the peculiarities of my digital workflow.
Scanning
For 35mm I use two scanners, one is old Minolta Multi II and another is Nikon V. The Nikon V gets most of the work. I use Vuescan because NikonScan software is clipping some highlights and I don't like this. Nikon V is noisy, slow, but good enough for my tasks. It has LEDs (Light Emitting Diodes) for a light source and because of this it tends to exaggerate the grain. In the darkroom world, I'd compare it with enlarger equipped with a point light source: prominent grain, high contrast, sharp edges, all irregularities like dust and scratches greatly exaggerated. Its just specifics for a particular film scanner and not all scanners, but that is what I am limited to in my film->digital workflow.
Digital processing
In case of film photography, digital processing in general and Photoshop in particular is atrocious. Its true; like a double-edge sword it cuts your instead of your enemy all the time... and ruined picture is just one click away. Don't get me wrong, I am not a novice, I use it for many years, I am very comfortable with it, I am in IT by trade. I profile my monitor, I control lighting in my room, and I try to process my images so that they would look natural. Still, I have many frames where I just couldn't quite get the image I want. For instance, the blur is out of the question -- use blur tool and it will ruin the grain structure while the very definition of 35mm pictures -- at least, my 35mm pictures -- is based on grain. Masks are powerful way to process scanned film images but one little mistake and you have visible artifacts. And the list goes on and on, counting every tool in PS's palette: curves, levels, filters, you name it. In my view, the ability to process films digitally did nothing good to many film photographers: their (printed in darkroom) pictures from the film era look great, but new work, also done on film, but processed digitally, look unnatural: too contrasty (levels, curves), too sharp in every dot (sharping filters), no details in shadows or, the other side of the coin, shadows HDRed to the point where you wonder: was it really shot on film?! In my film-digital workflow I try to avoid these but it had always been a struggle. It is especially hard with overexposed and problematic in other ways (for instance, pushed to the limits) negatives.
Digital Printing
I am not a very good digital printer, but I have 2 photo printers at home (HP 7060 and Canon Pro-100) and managed to configure them to produce fairly neutral B&W prints. I don't like much any of the inkjet papers I had to use; some I dislike less then the others. All in all, this step is the most simple and straightforward in my digital workflow.
Darkroom, Printing/Comparing
I took three negatives I know I had issues with while scanning, processing and printing digitally. In darkroom, I spent one hour on each; could easily be 3 hours/each, I just didn't have the time. Here are the best prints I've gotten:

(Calle Ocho, June 2011, Tri-X pushed to E.I. 1600)
This one was no problem: printed on Ilford MG RC IV 8x10 paper, aperture f/8, split printing in 3 exposures:
- Filter #0 (low contrast): sky only 32 sec
- Filter #0 (low contrast): all but left side (Cafe with the couple) for 32 sec, plus dodging cyclist's face for 22 sec during the exposure
- Filter #4 (high contrast): whole frame for 18 sec, dodging faces of woman and cyclist for 10-12 sec.
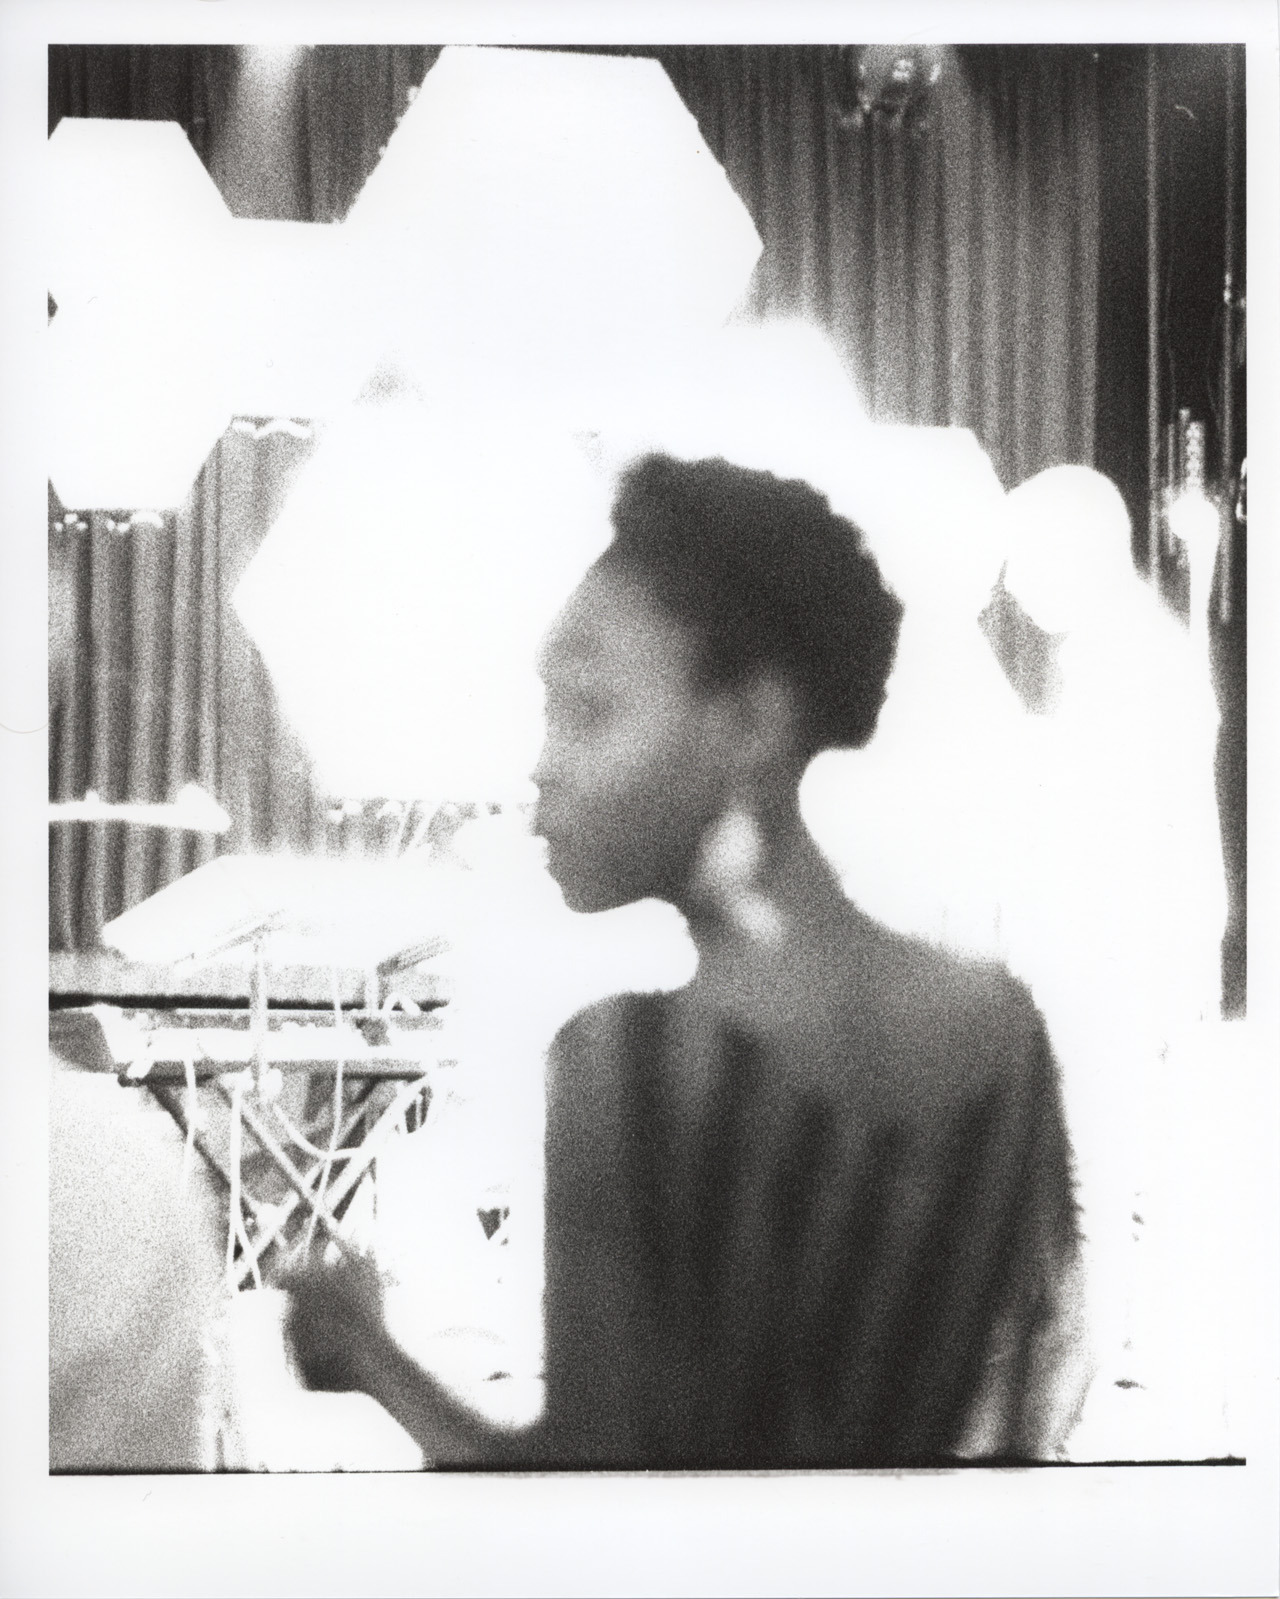
 (South Bech, June 2013, Tri-X pushed to E.I.1600)
The negative is much worse, its grossly overexposed; I bet I will reduce it one day. To get some clouds, I had to do this:
- Filter #0 (low contrast) at F/0 66 sec, sky and building on the right only.
- Filter #0 (low contrast) at F/8 34 sec, masking (i.e. dodging) girl's faces for 12 seconds each
- Filter #5 (high contrast) at f/8 26 sec, dodging girl's faces 10-14 seconds
(Little Haiti, Kodak 3200 TMZ film @ E.I. 12500)
This negative had great difference in contrast between background and foreground, but it was task simplest of all:
- Filter #0 (low contrast) F/8 for 34 sec dodging girl's figure and face
- Filter #3 (normal contrast) F/8 for 44 sec
Bottom line
It is not an impossible task to match or even surpass film-digital workflow in darkroom printing. There are few advantages I noticed while comparing prints made digitally to analog:
- the grain structure is better on analog prints. And for me it is very important.
- some artifacts present due to heavily pushed film are less noticeable on analog prints. For example, I spent some time battling nasty changes in brightness in the areas of high contrast -- for instance, on the image #2 that would be where cafe roof borders the sky. There was no such problem in the analog version of the print. I was expecting it, and it is there, but does not look too bad. It still has this look of pushed film, but not as much as digital print and as a result it looks much more natural.
The final word
If you had been scanning your negatives for some time, try printing in darkroom. The results may surprise you.
Dixi.

No comments:
Post a Comment